
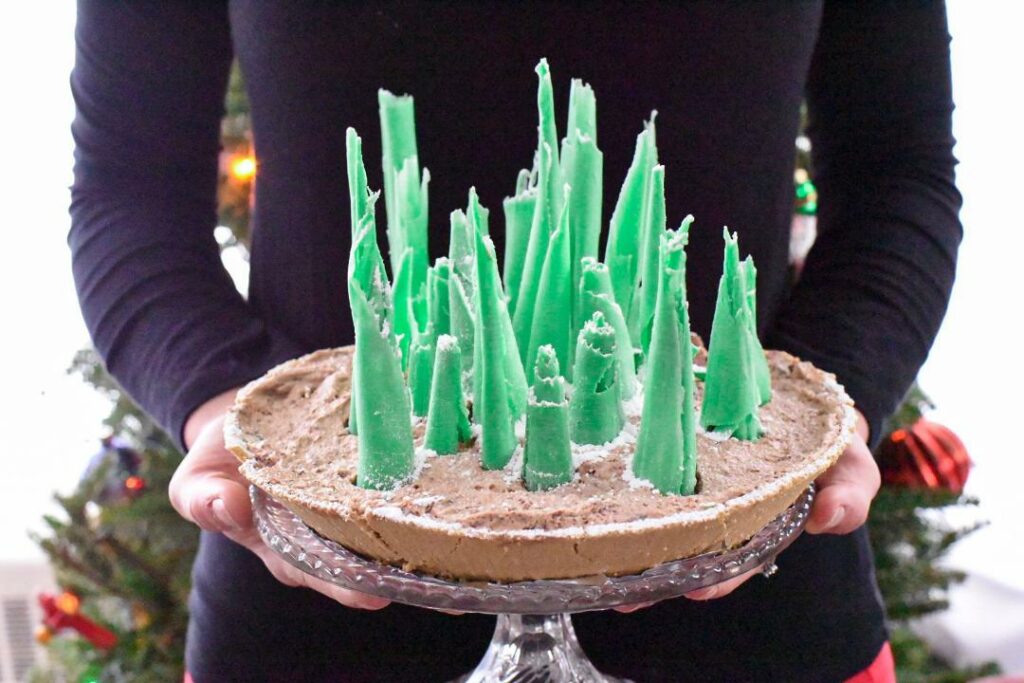
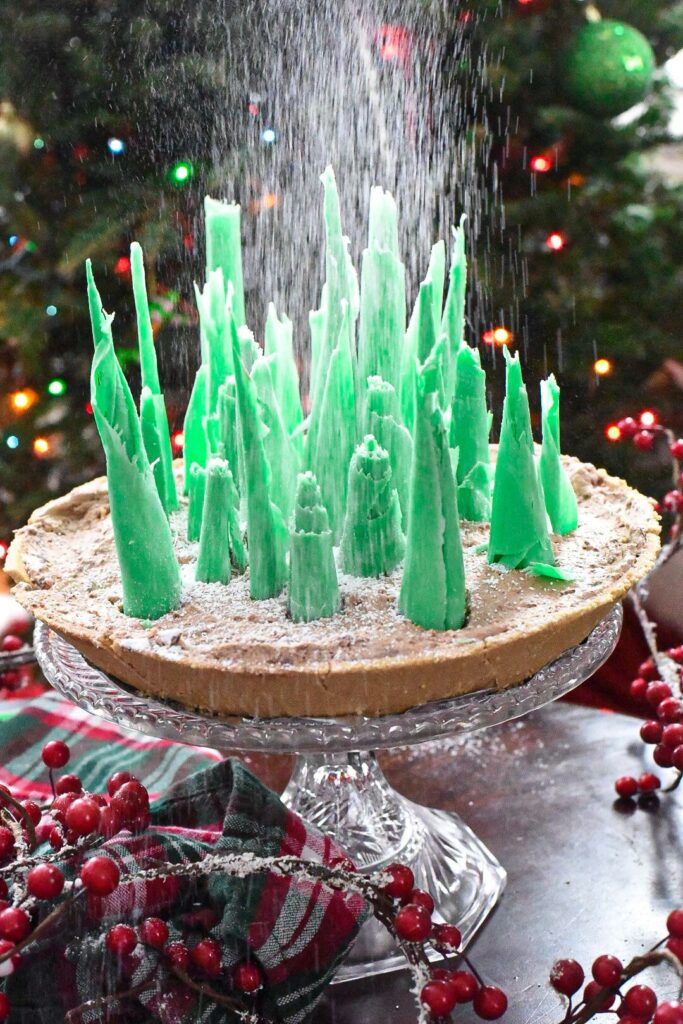
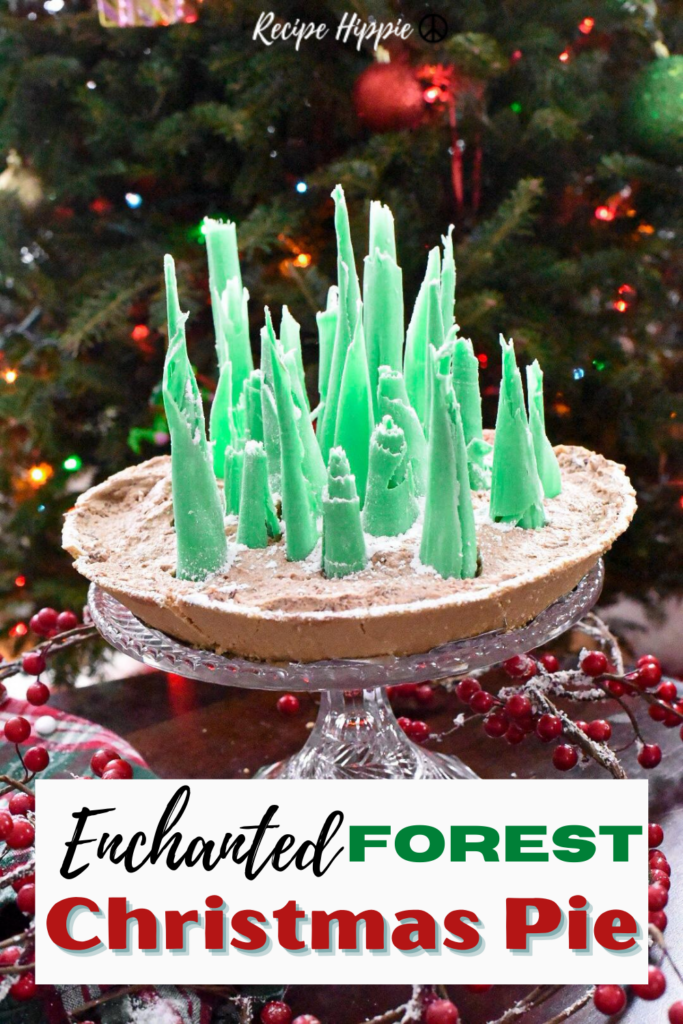
The holidays are full of magic, and this chocolaty enchanted forest cake is no different! 4 ingredient chocolate mousse pie is topped with green white chocolate curls, for an elegant and enchanting winter forest! Perfect as a Christmas dessert cake, or even an Emerald City cake! This easy enchanted forest Christmas pie is PERFECT for the magic of the holidays!
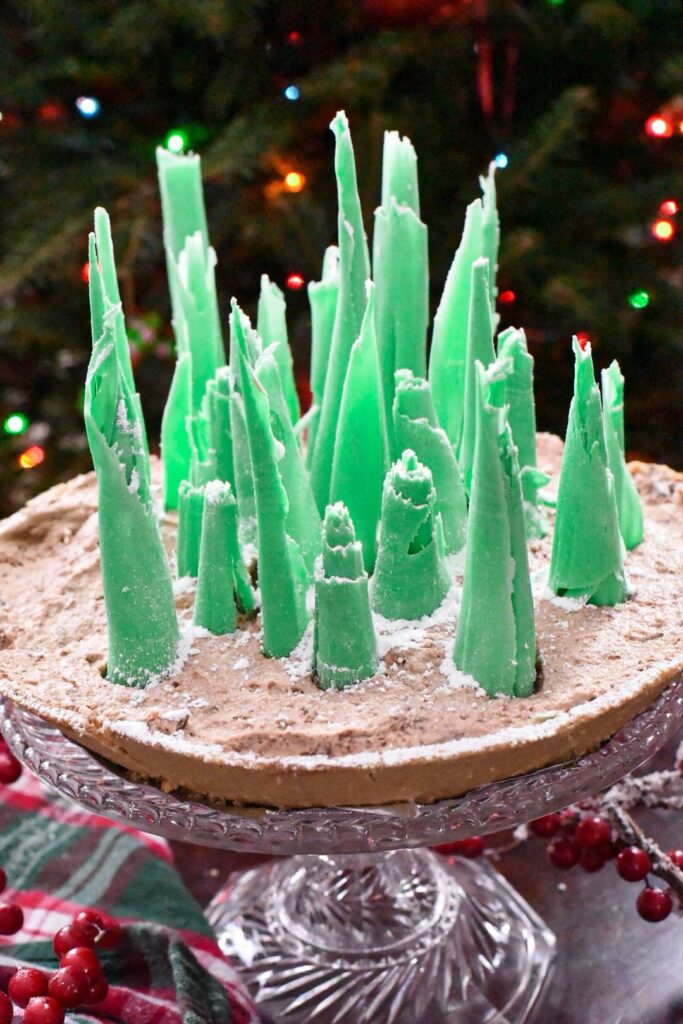
What Are The Green Trees Made Out Of?
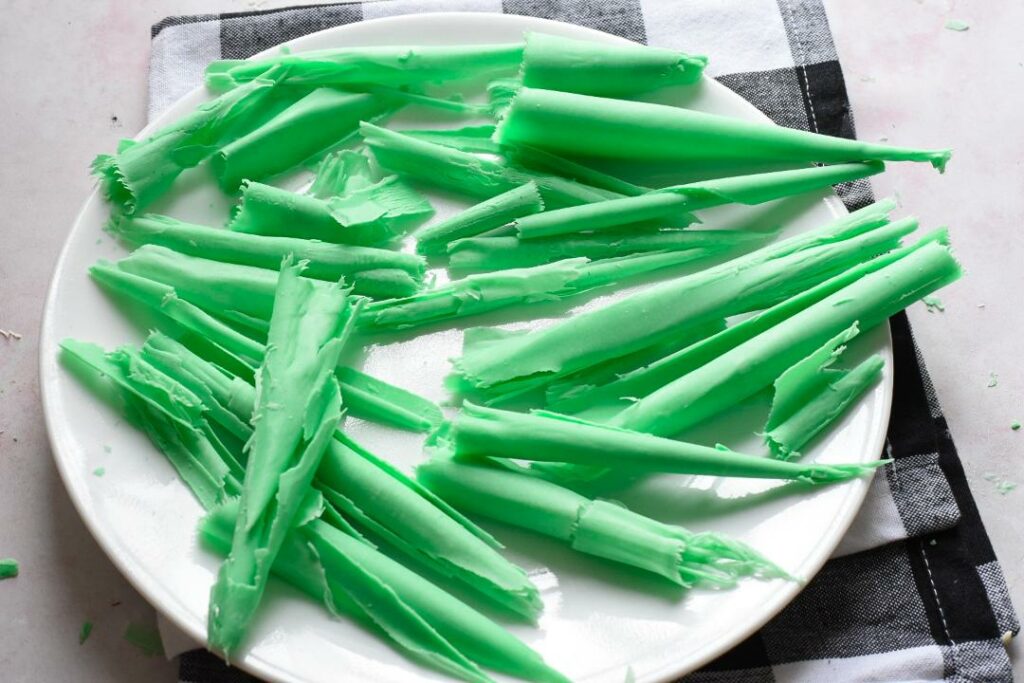
Those majestic and architectural trees are made out of white chocolate! White chocolate is melted and then dyed with green food coloring. A thin layer is spread over a large baking sheet, and is refrigerated until solid. Using a pastry scraper, a thin layer of chocolate is peeled away. When this is done at the correct temperature, the chocolate will curl on its own, forming tight spiral peaks that look like pine trees!
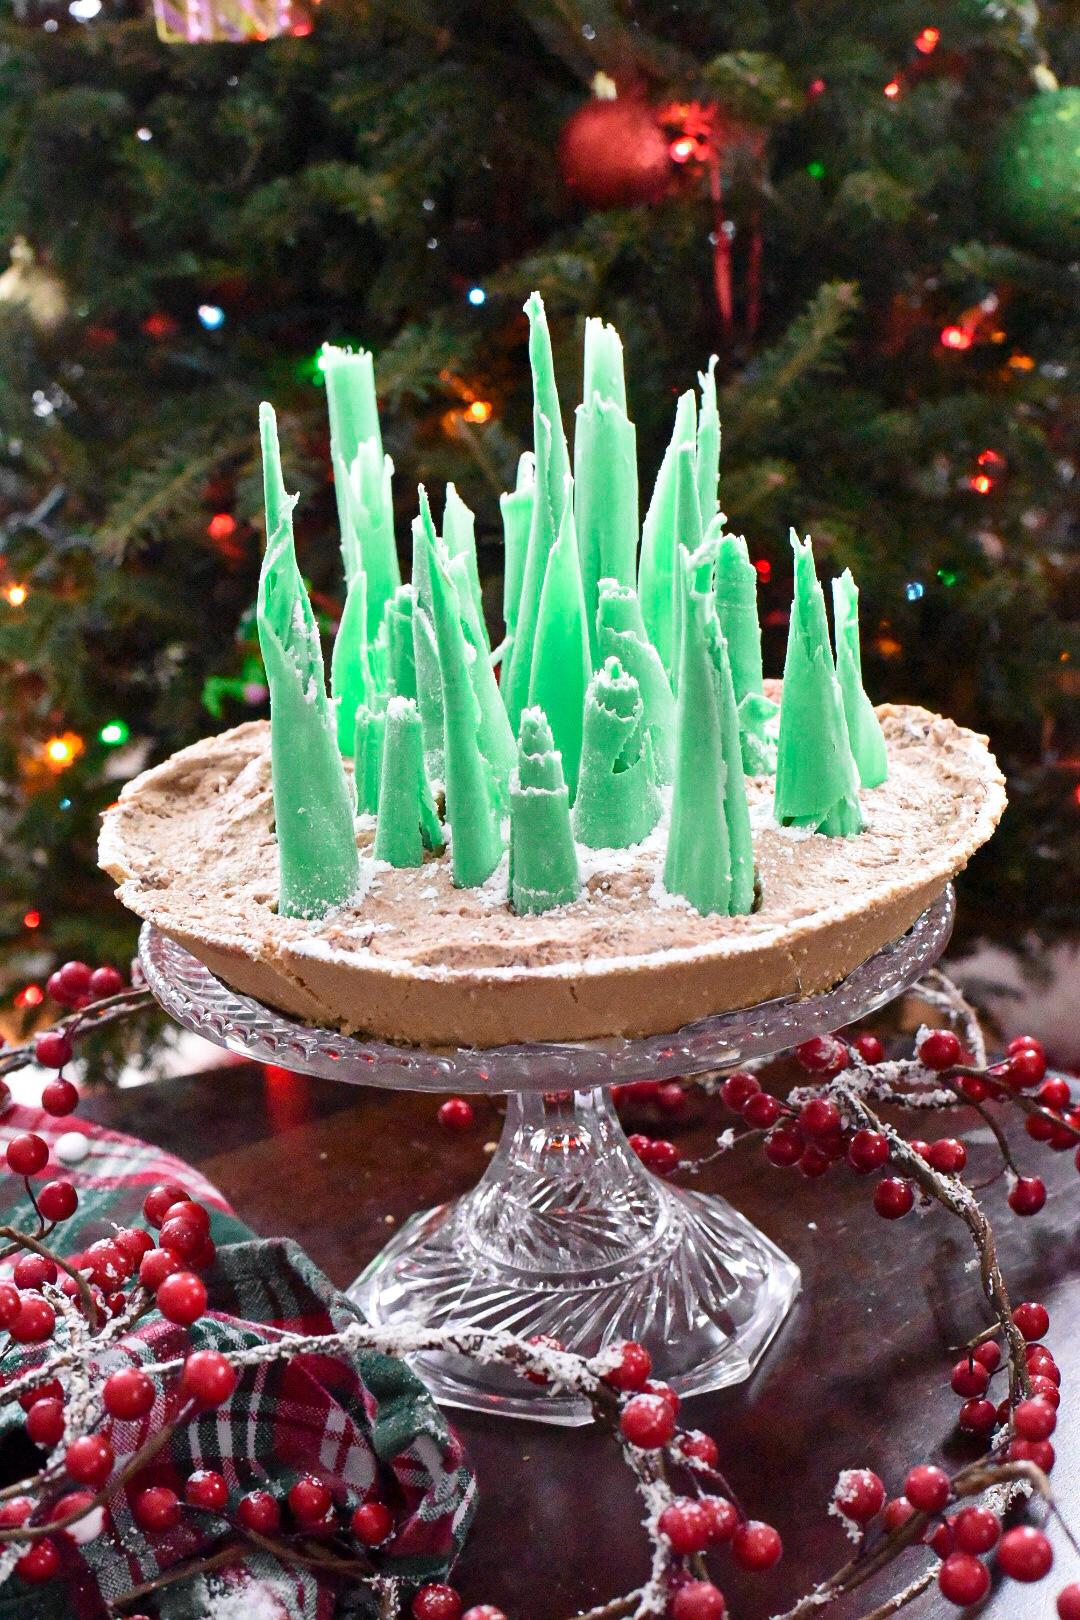
I love this Marble Pedestal Cake Serving Stand in gold for the holidays!

4 Ingredient Mousse Pie:
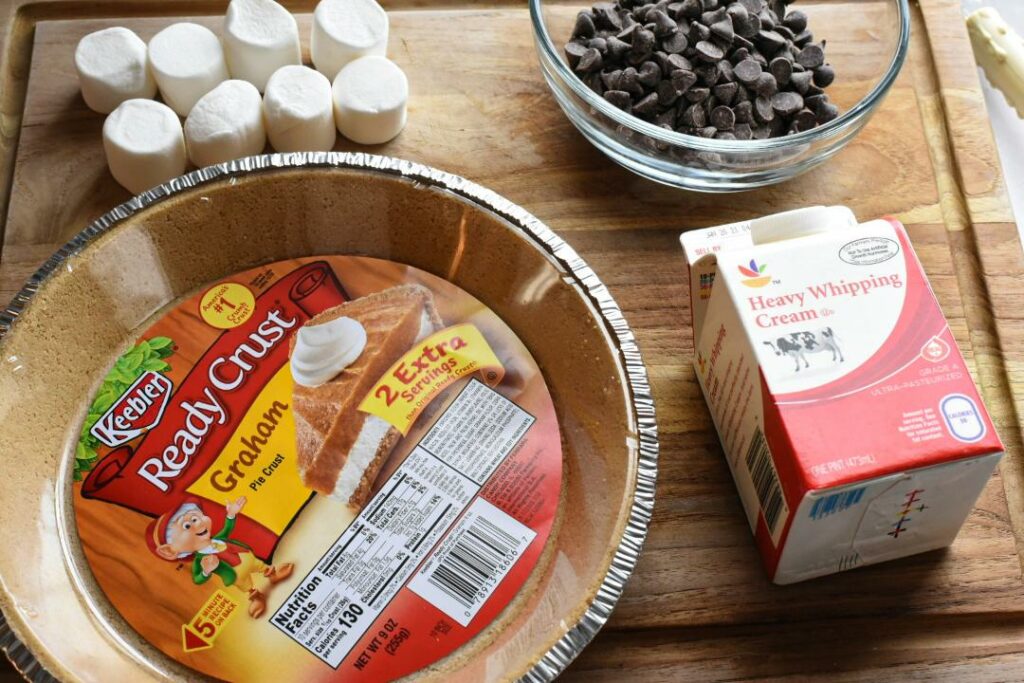
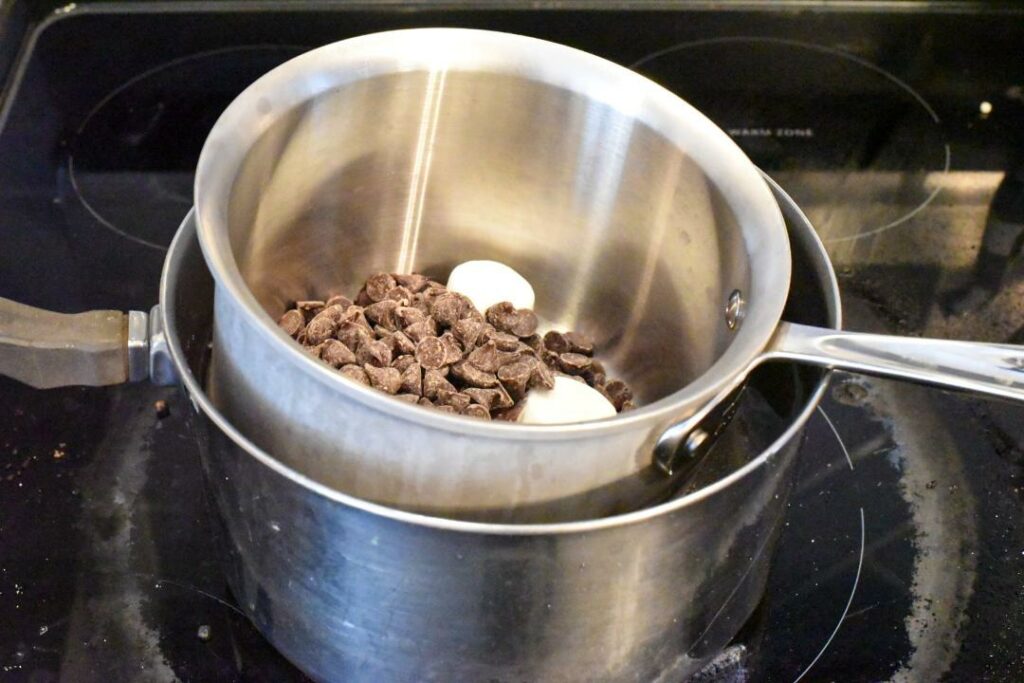
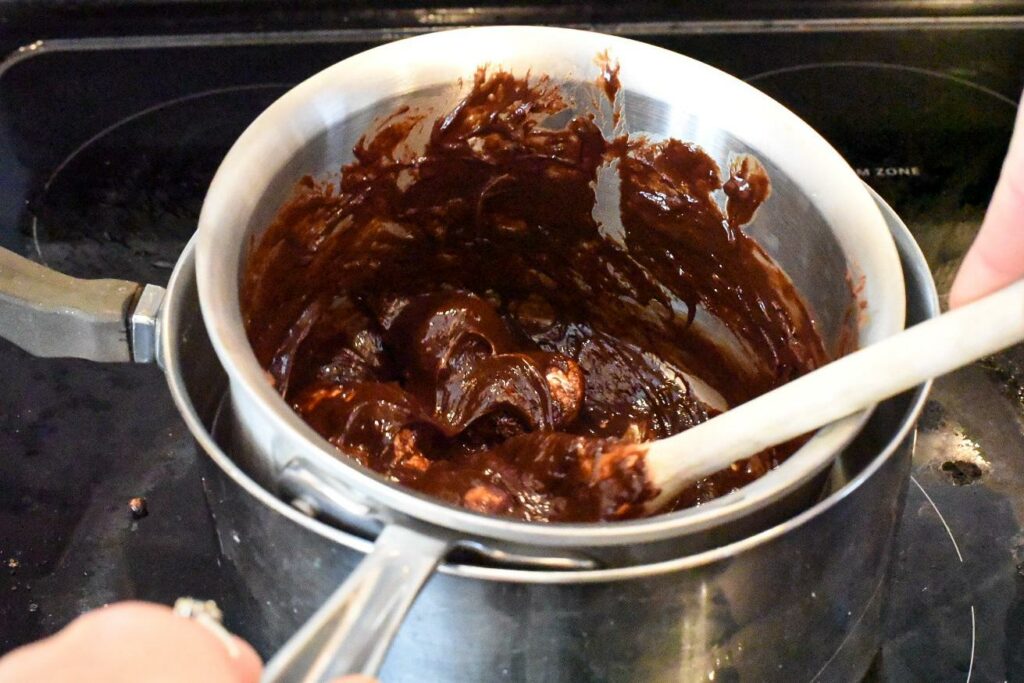
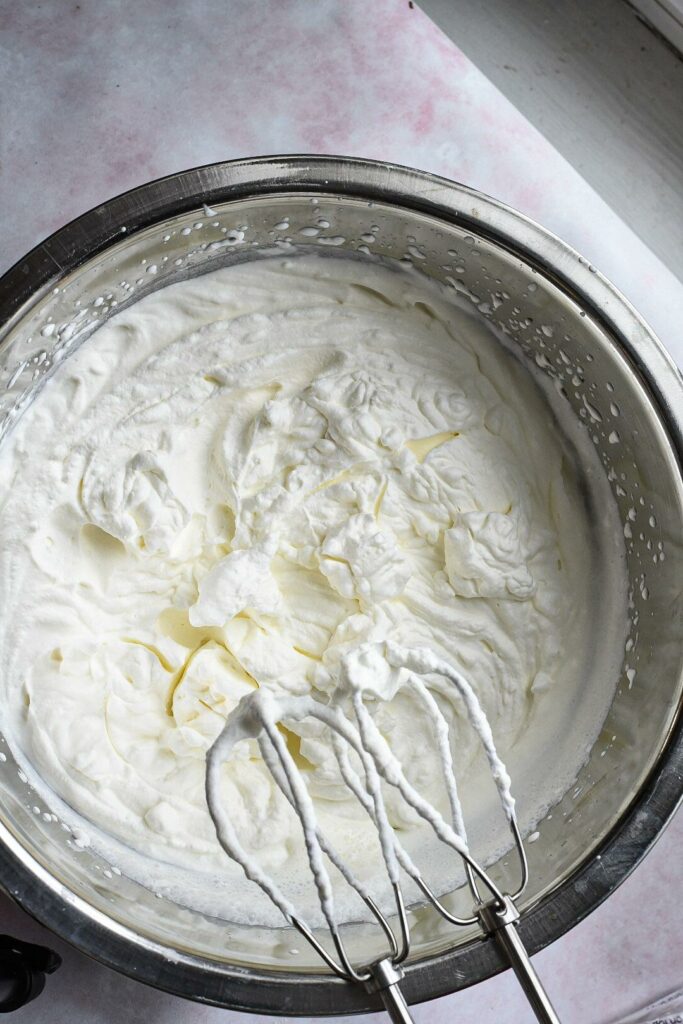
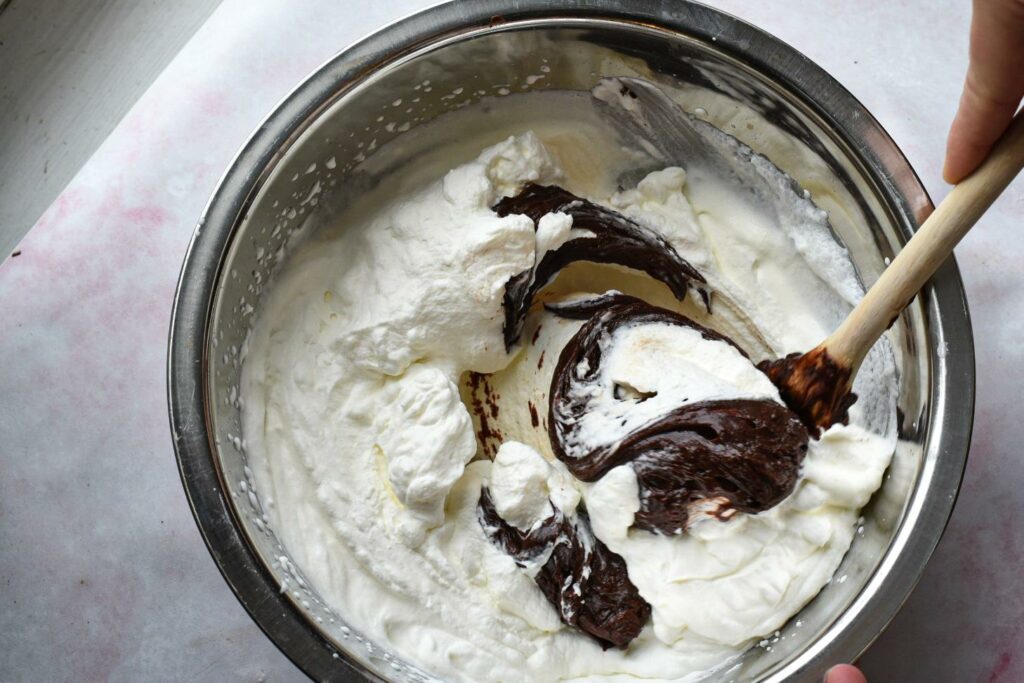
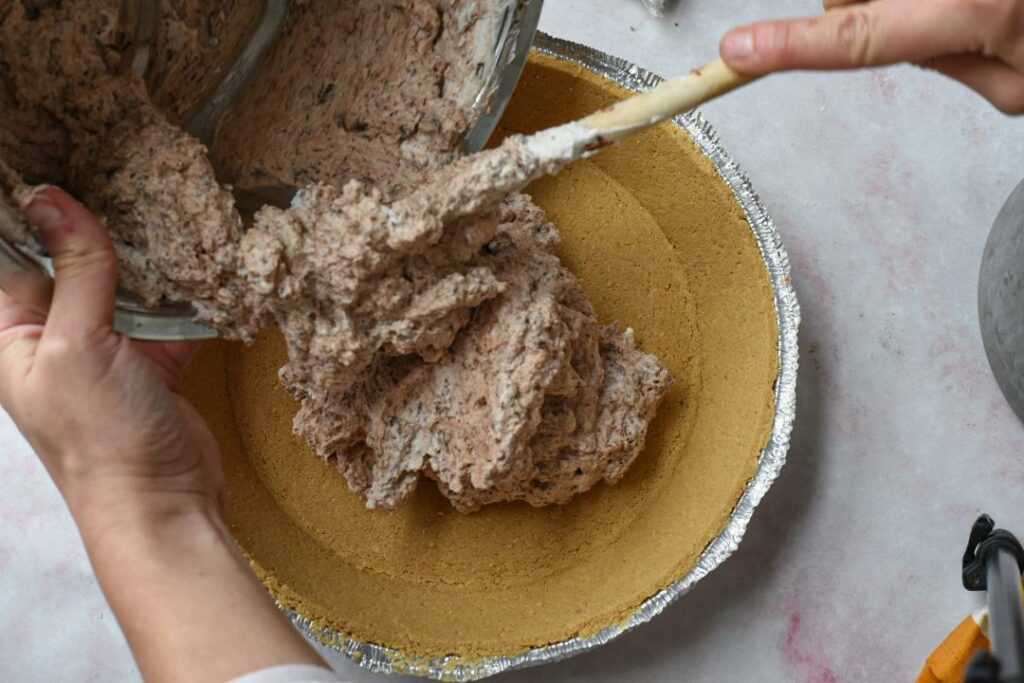
This is the same mousse pie that I make every Thanksgiving. It is perfect for the holidays because it is SO easy! First, chocolate and marshmallows are melted together in a double boiler. If you don’t have an official double boiler, you can do what I did and boil water in one large pot, and place a smaller pot over the water to melt the chocolate. This helps to prevent burning. In a separate bowl, heavy cream is whipped until stiff peaks form, then the chocolate is folded into those peaks! The mouse is then poured into a gram cracker or oreo pie crust, and refrigerated! It’s such an easy mousse recipe, and is SO delicious!
Detailed Steps on ‘How To Make The Chocolate Spirals’:
This definitely takes a little practice and practice to perfect. Getting the chocolate to the proper temperature and ‘hardness’ is the key factor that decides whether your chocolate spirals come out large and beautiful, or if they splinter and fall apart.
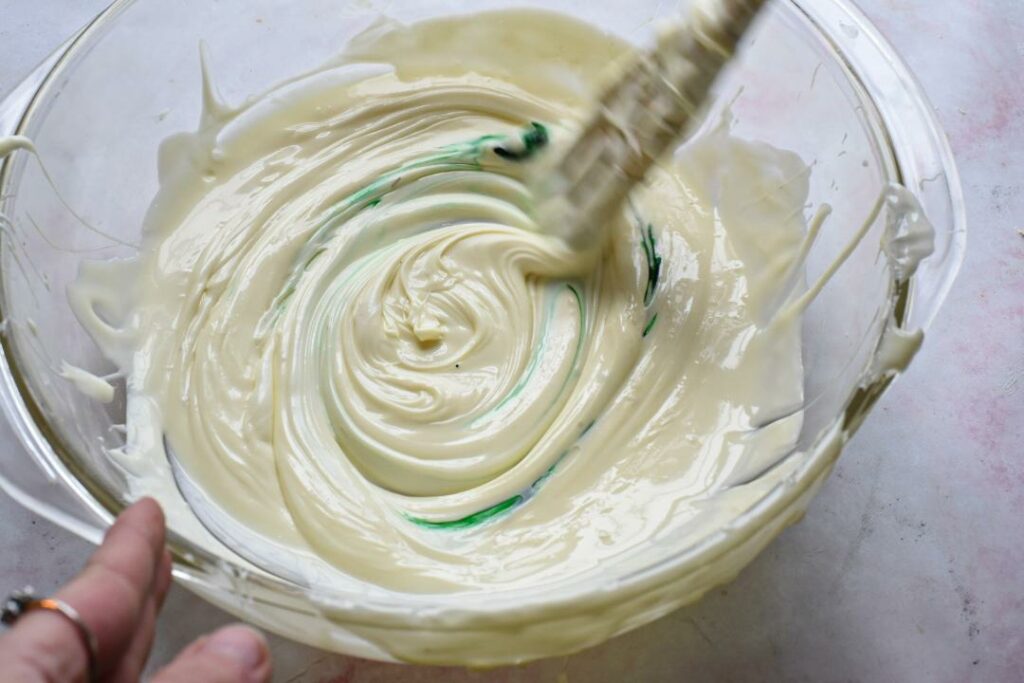
- MELT THE CHOCOLATE: I melted the white chocolate in a glass bowl in the oven set at 200 degrees for about 10 minutes, stirring once. This allowed the chocolate to melt slowly and helps to prevent burning.
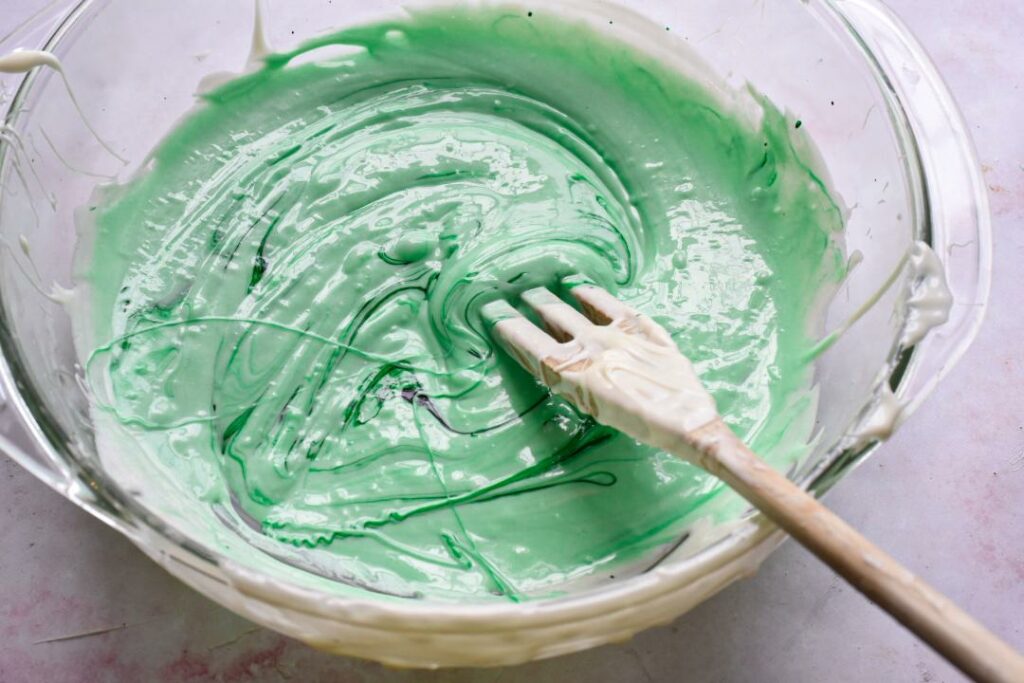
- ADD THE FOOD COLORING: I actually forgot to do this the first time I tried this recipe! It’s an easy step to forget, but I find that I personally like the enchanted forest cake to have green trees, instead of white. But that is preference, and you can make them whatever color you desire!
- SPREAD THE MELTED CHOCOLATE THINLY OVER A BAKING SHEET: The chocolate needs to be spread very thinly over a flat baking sheet. Make sure the baking sheet is not ‘ribbed’, or the technique will not work. The chocolate should be spread as thinly as possible, while still being opaque (you should not be able to see through it).
- REFRIGERATE UNTIL SOLID: Now, this is the part that can get a little tricky. Depending on the kind of chocolate used, the thickness and the temperature of your refrigerator, this amount of chilling time is going to be different for everyone. When I made this, one batch was ready to go in 4 minutes, while another batch took 10 minutes until it was cold enough.
My general rule of thumb is: you should be able to press a finger moderately onto the chocolate without an indent.
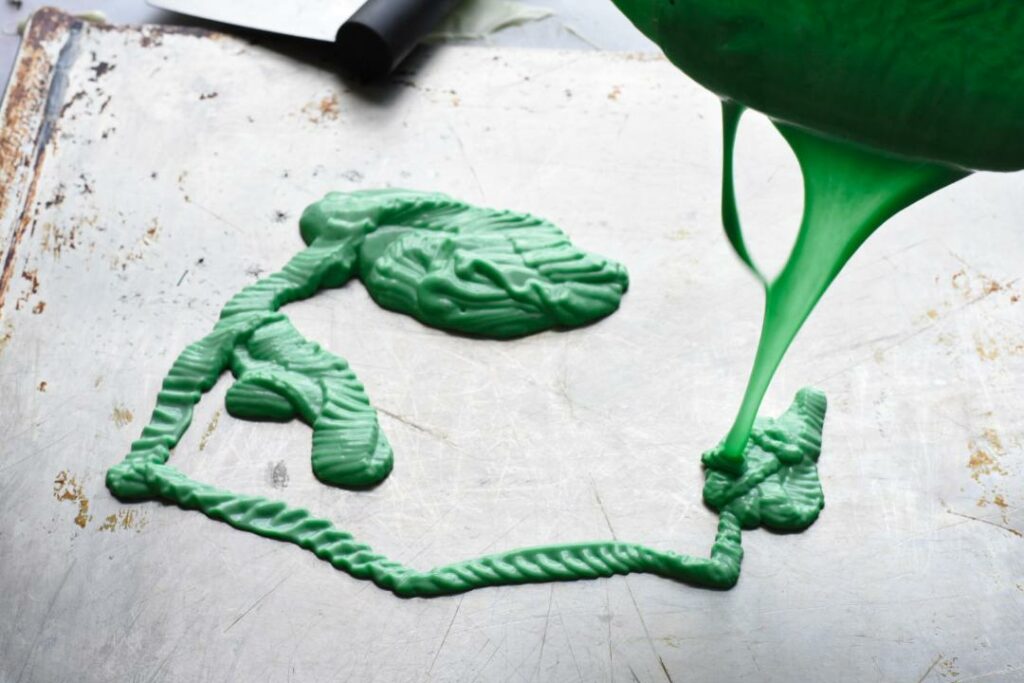
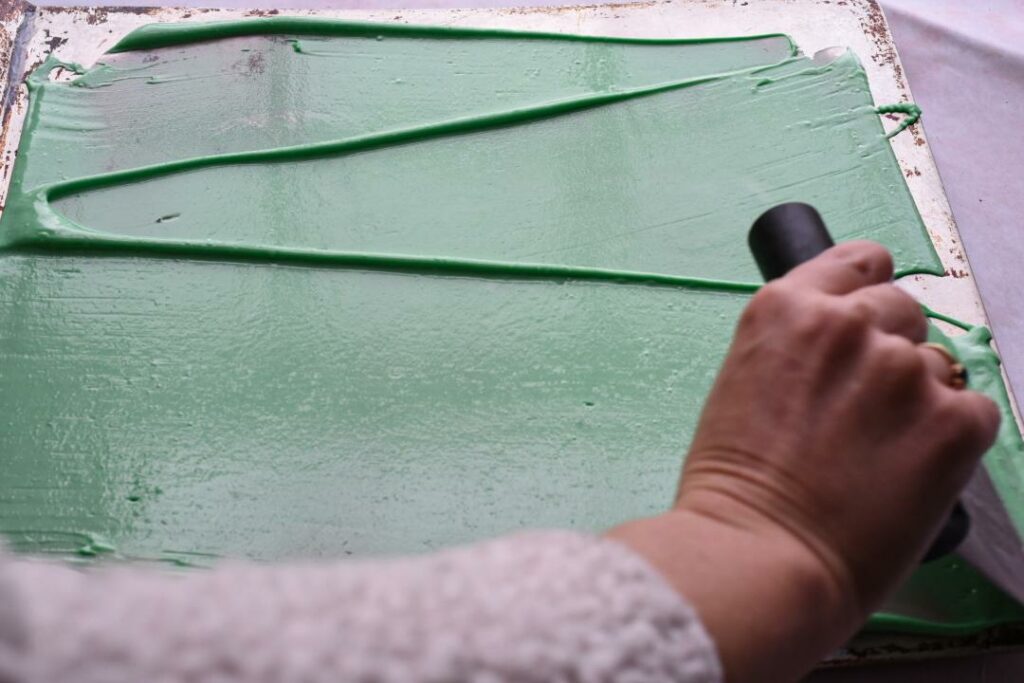
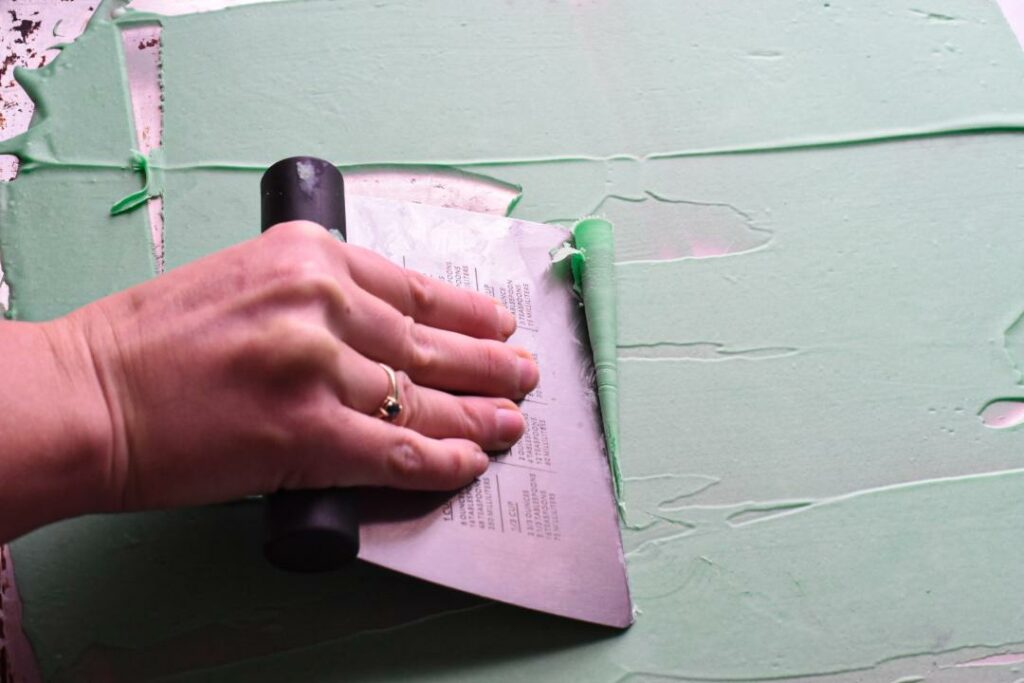
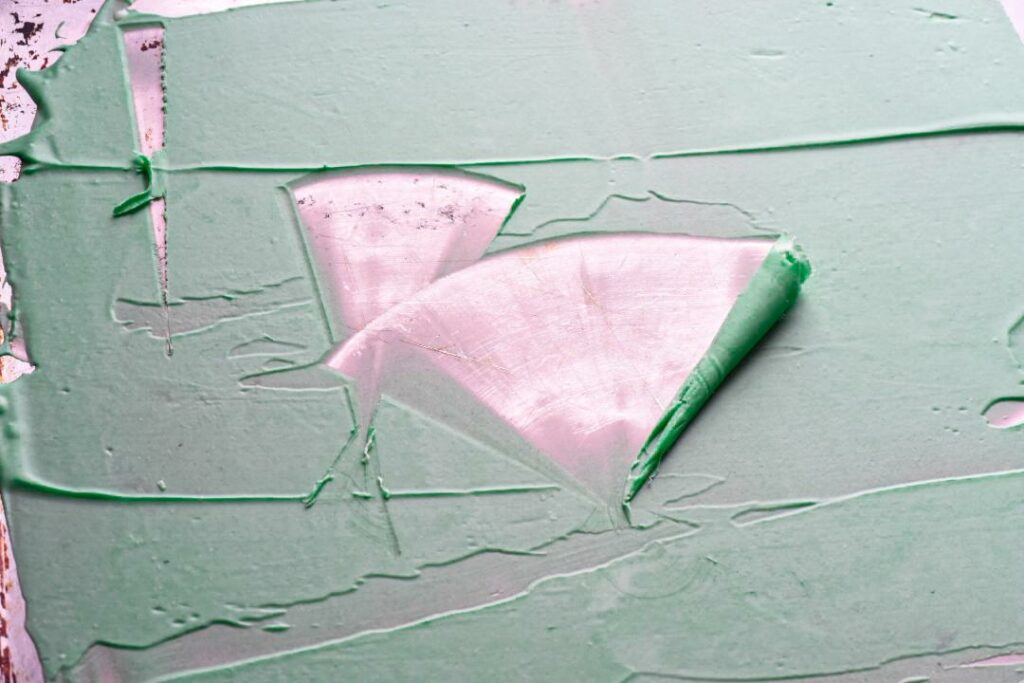
5. PRESS A BREAD CUTTER INTO THE CHOCOLATE AT A 45 DEGREE ANGLE: Using a bread cutter/scraper, begin to press down on the chocolate and push away from you. If you push in a straight line, you will get spirals that do not come to a point. If you push in a half-circular motion, keeping one edge of the bread cutter in the same spot while moving the other end as you push down, you will get those spirals that come to a point and look like Christmas trees.
Note: THIS TAKES PRACTICE! It took me a few batches to get the technique down. Be patient!
BELOW: This photo shows what your spirals will be shaped like if you only push in a straight line. It is more of a ‘cigar’ shape.
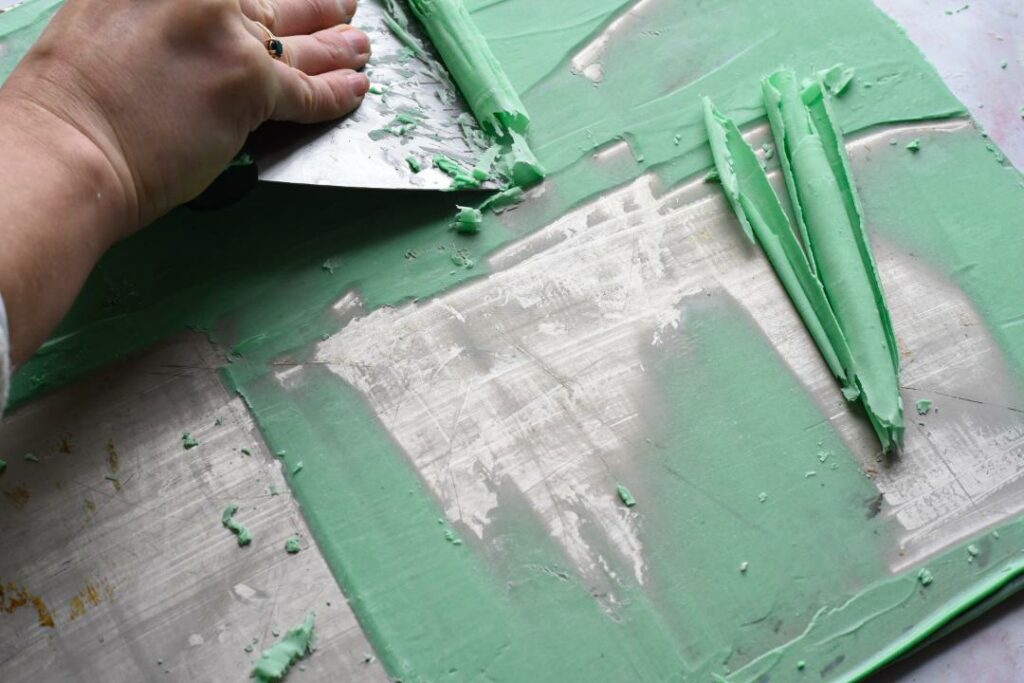
These photos show how if you keep one end of the bread cutter in one spot, and push the other end in a ‘half circle’, your chocolate curls will come to a point and look more like ‘trees’.

Temperature Tips:
If the chocolate is too hard and cold, it will splinter. If the chocolate is too warm and soft, it will not curl.
- Chocolate is too hard/cold: place the baking sheet back in the oven at 200 degrees for 30 second intervals until the desired softness.
- Chocolate is too soft/warm: place the baking sheet back in the refrigerator for 2 minutes, then re-check.
When To Serve This Chocolate Christmas Pie:
This is obviously a great holiday dessert idea, because it is unique, beautiful and absolutely DELICIOUS! This would be a great Christmas party dessert because I bet NO ONE has ever seen anything quite like it! This could also make a wonderful Wizard of Oz cake, because it does look a lot like the Emerald City! Just pay no attention to the man behind the curtain! (or me behind the mouse pie). This is a unique Christmas dessert that your holiday party guests will be requesting year after year!
Enchanted Forest Christmas Pie
Equipment
- pastry scraper
Ingredients
- 1 cup semi-sweet chocolate chips
- 16 oz heavy whipping cream
- 8 marshmallows
- pre-made gram cracker or oreo crust
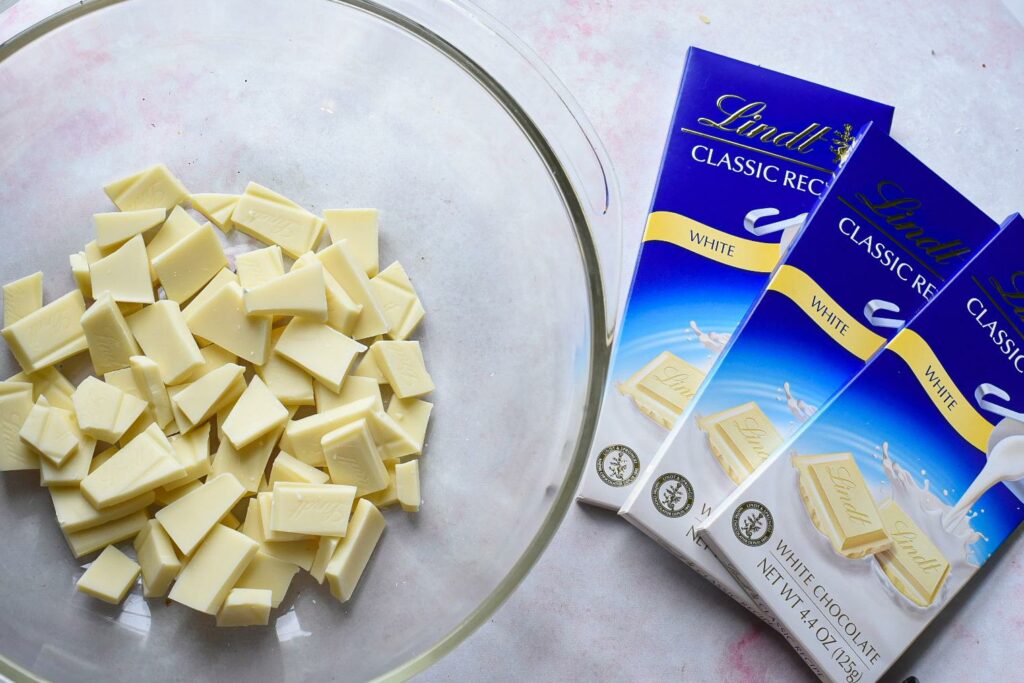
- 4 4.4 oz white chocolate bars i used Lindt
- green food coloring
Instructions
Make The Chocolate Mousse Pie:
- Start by heating up the chocolate and marshmallows in a double bubbler. I do this by filling a large pot with about 2 inches of water and heating on medium heat. Once the water is warm, I place a smaller pot inside of the larger pot (so the bottom is touching the warm water) and fill it with the semi-sweet chocolate chips and marshmallows.
- Heat the semi-sweet chocolate chips and marshmallows, stirring frequently, until fully melted. You may need to add a few tbsp of heavy cream to the pot to prevent sticking of the chocolate.
- Once melted, remove from the heat.
- In a large bowl, pour in the heavy whipping cream. Using an electric hand mixer, mix the heavy cream on medium/high until stiff peaks form. This usually takes between 3-5 minutes.
- Fold the chocolate into the whipped cream until fully combined. Pour the mixture into the pie crust, place the lid on it and refrigerate.
To Make The White Chocolate Curls:
- Pre-heat the oven to 200 degrees.
- Break the white chocolate into squares, and place them in a glass oven-safe bowl. Place the bowl in the oven and heat until the chocolate has melted. This usually takes about 10 minutes, stirring once.
- Once melted, add about 20 drops of green food coloring and mix. Pour the melted chocolate over a large flat baking sheet, and using a flat pastry scraper, spread the mixture as thinly as possible over the sheet. You want it to be thin enough, but not see through.
- Place the baking sheet in the refrigerator for 5 minutes. Press your finger moderately onto the chocolate: if you make an indent, continue to refrigerate until you can press your finger onto the chocolate and there is no imprint. Remove the baking sheet from the fridge.
- Holding your pastry scraper at a 45 degree angle, press down on the chocolate and push in one direction. If the chocolate is too soft, it will not curl. If it is too hard, it will splinter. See the 'TIPS' section below the recipe to see what to do if either of these things happens.
- To get 'tree' shapes, keep one end of the scraper in one spot, and push the rest of the scraper in a half circle motion. See images above for reference.
- Once you have enough chocolate curls made, place them in the refrigerator for at least 10 minutes before sticking them into the mousse pie.
- Once the spirals are placed in the mousse pie, you have the option of sprinkling confectioners sugar over the top for a 'snow' look!
Notes
- If the white chocolate is too hard/cold, place the baking sheet back in the oven for 30 second intervals until the desired softness.
- If the white chocolate is too soft/warm, place the baking sheet back in the refrigerator for 2 minutes, then re-check.
Did you like my ‘Enchanted Forest Christmas Pie’ recipe?! If so, go check out my ‘Single Serve Melting Snowman Cakes‘ recipe.
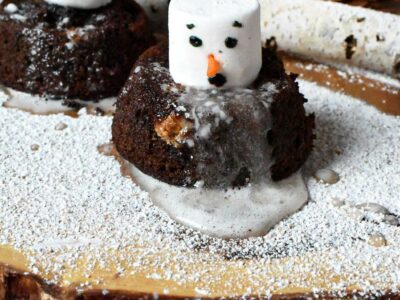
Single Serve Melting Snowman Cakes
This chocolate peanut butter cake recipe is so delicious and cute! These individual cakes are eggless and very light and chocolaty! And I had ALL of the ingredients just sitting in my pantry, waiting to be made into a warm, toasty and delicious dessert. Melting snowman cakes are not only melting on the plate, but …


 Korean Crispy Fried Chicken Breasts